There are some options available to display the full-sized image, and I'll cover them here.
First, you can stick with the 'Add image to post' link, but edit the link yourself while you are posting. To do this:
After you've added your image, and the link appears in your post, click on 'preview' under the post;
When the preview appears, click on the thumbnail;
This will display the full-sized image on Postimage.org;
Underneath the image there are some links which look like this:
free image hosting | image search | show codes | report abuse or request deletion
Click on 'show codes';
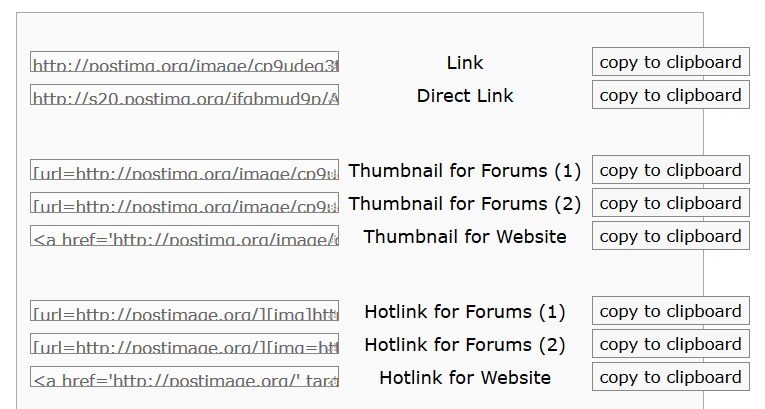
The second link is the one you want -- 'Direct Link' -- so click on the 'copy to clipboard' button;
Click the browser 'back' button to get back to your post;
Now delete the link which Postimage placed in your post;
Paste the proper link;
Select it, and click on the image button (highlighted below) to add the image tags;

That's it, you can 'submit' your post.
The second method involves creating a Postimage account, and uploading your images yourself
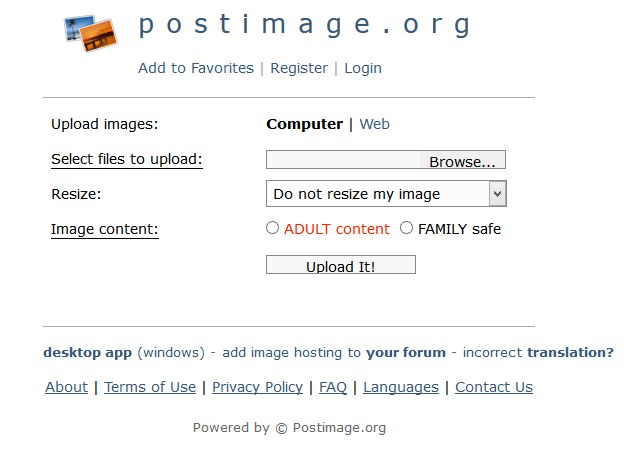
Just go to Postimage.org and register;
Once you have logged in, the screen changes a bit, adding a 'gallery name' entry so you can organise and sort your screenshots;
You can then browse to your screenshot, upload it, and you'll end up at the same screen as above, where you copy the 'direct link' to the clipboard;
Then go to NZFF, create a post, and paste the link into it, then add the image tags as above.
This way, you can browse your uploaded images any time, and grab links as required.
The third way is the way I use Postimage.
When you go to Postimage.org, you will see a link which says 'desktop app'. See the screenshot above. Download this app, and install it. This is a very nice screenshot manager, with a great set of features:
• Quick images sharing.
• Multiple image upload at once.
• Upload images via the right click context menu.
• The fastest way to do a customizable screenshot.
• Global hotkeys to activate screen capturing instantly.
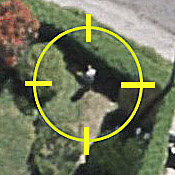
I've just copied this from their site. By the way, I used this to upload and place all the images in this post, and I also used it to annotate the screenshot with the red highlighted circle. Very, very simple to do.
I just pressed 'prt scrn', drew a rectangle around the bit I wanted, then I get a number of buttons allowing me to edit (annotate in this case), upload, save, or copy. Once uploaded, a window lets me copy the link to the clipboard.
 Great to have a link to direct them to .

 ....
.... ...!
...! ...!
...! ...!
...! ...!
...!

 ...!
...!