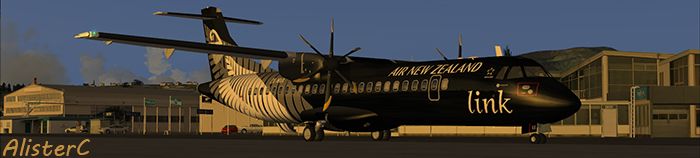
Step 1 * Take ya screenshot
Step 2 * Resize image to 1080 pixals
It smooths the original image


Step 3 * Sharpen once

Step 4 * Take the manual mask tool and mask around the plane only

Step 5 * Click edit then copy
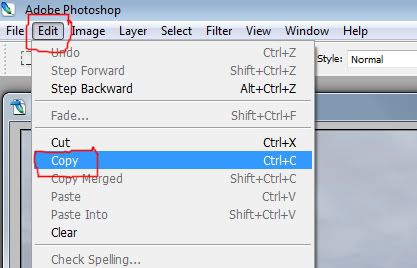
Step 6 * Now click select then Deselect ( this gets rid of the mask around the plane )

Step 7 * Go to filter and click blur then motion blur

Now change motion blur to 23%, it's on 11% here but 23% seems to be the best for keeping the scenery relatively viewable ( the more blur percentage, the faster it looks ( up to you really )

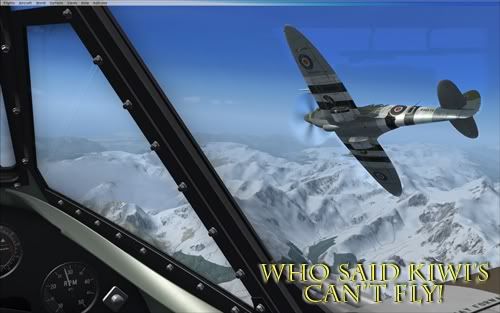
RIGHTO nearly there 2 more steps!!
Step 8 * Now go to edit at the top and click paste, you should have the CLEAR copy of the cutout pasted in

Step 9 * Now click on your main tool , left click over the cutout and hold the button and move it into postion over the blurred one and ya done!!

And thats all there is too it LOL , once ya familiar with the tools ya can do this from step 1 to 10 in about 2 minutes.
Hope that helps guys , have fun , I reckon it really brings them to life.
Brendan.


 , good reply and tutorial , be a great help to all new shot screen punters , cheers mate