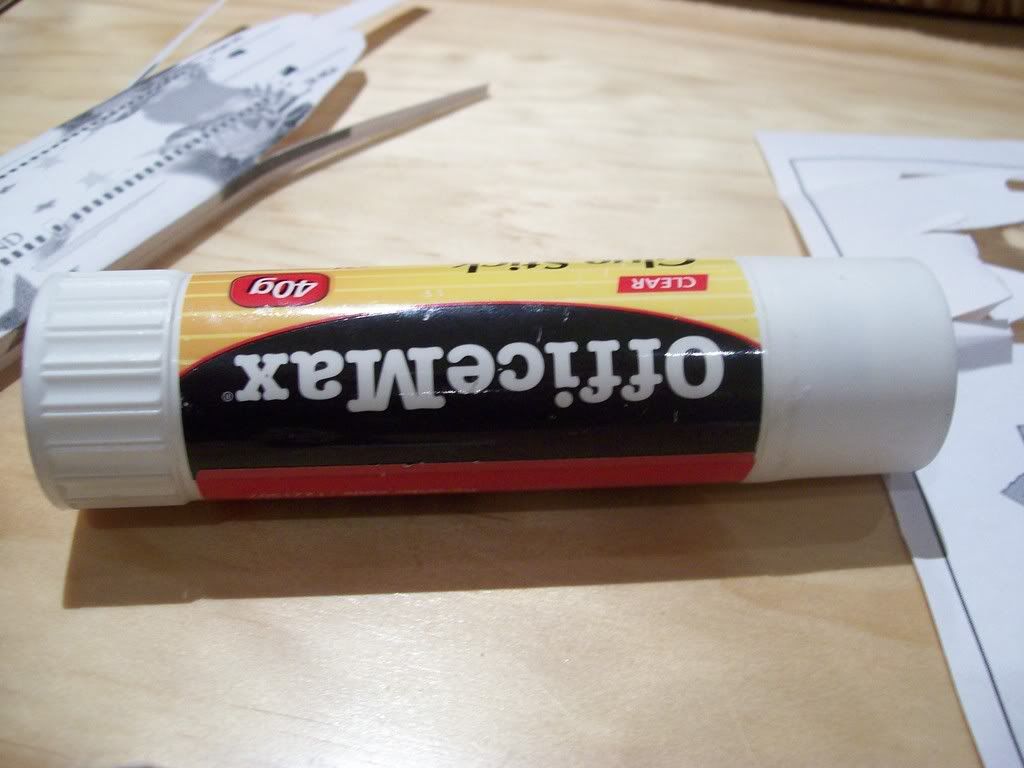
Firstly I use a glue stick for the gluing (but tape is also recommended.
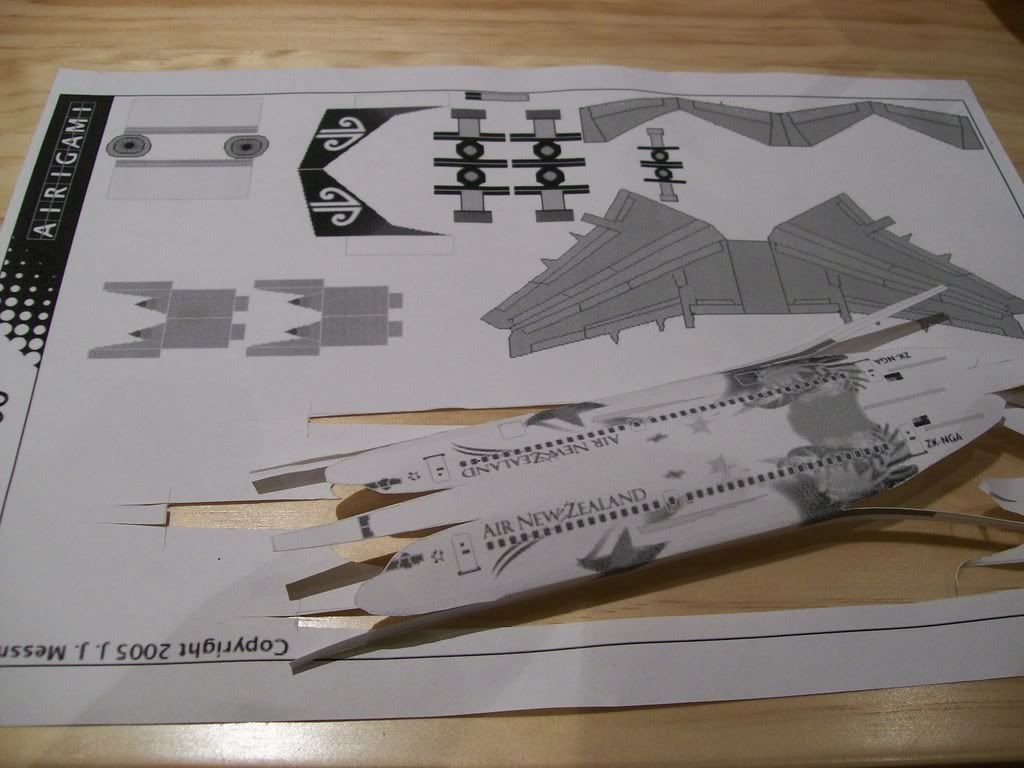
Here is how you cut out the parts (only cut them out as you need them)
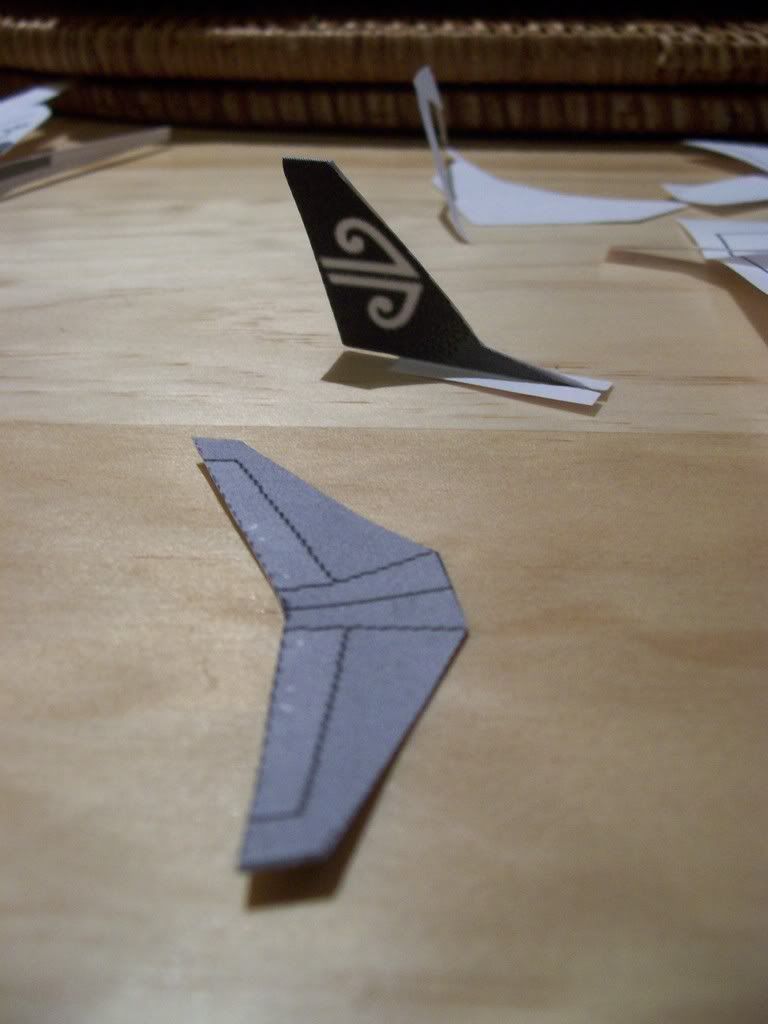
Cut out and glue the tail and elevator as shown
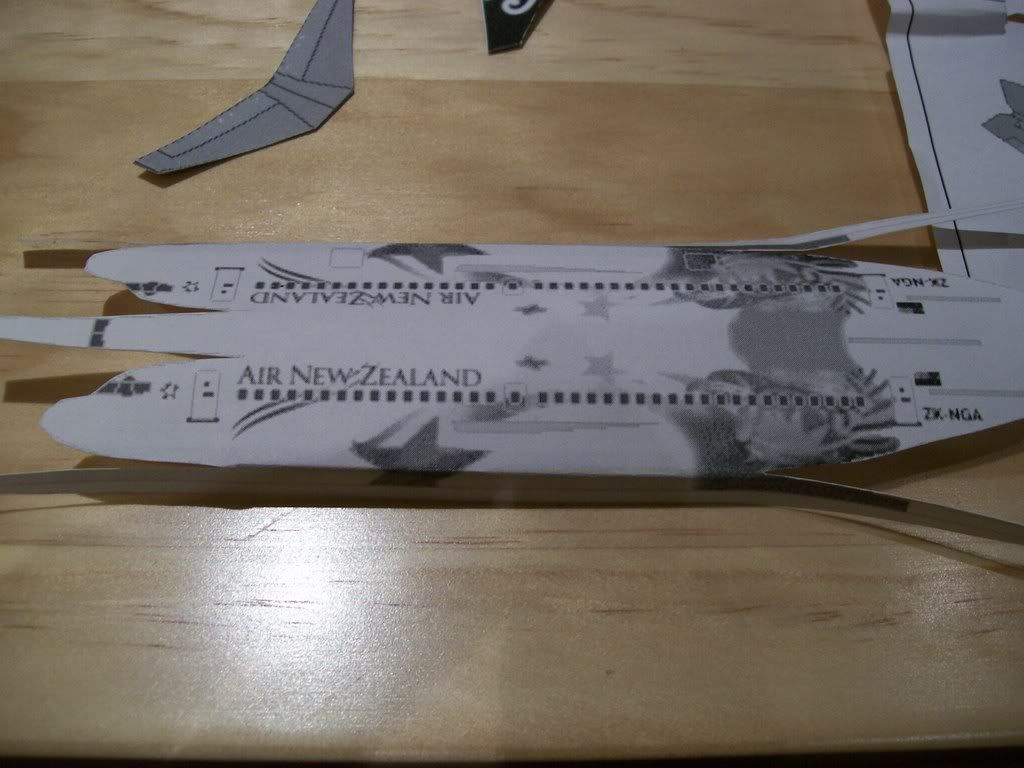
Cut out the fuselage
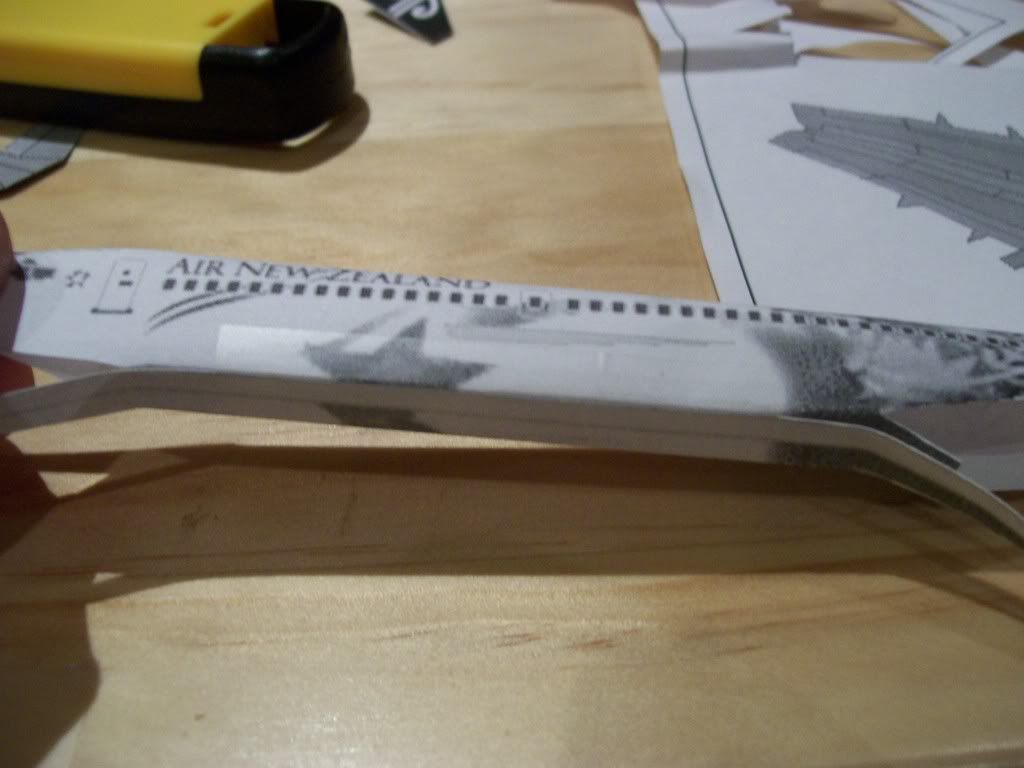
Curl/twist it around and tape the bottom with tape.
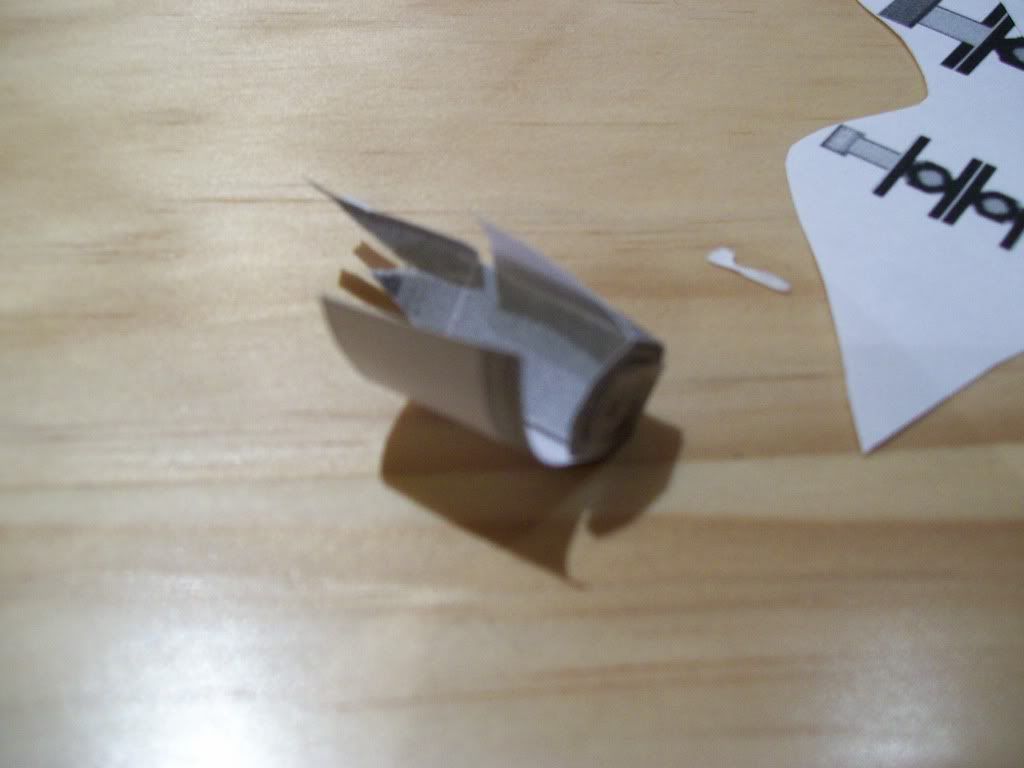
Cut slits where the gray lines are at the back (top left and right) for the
elevator and tail
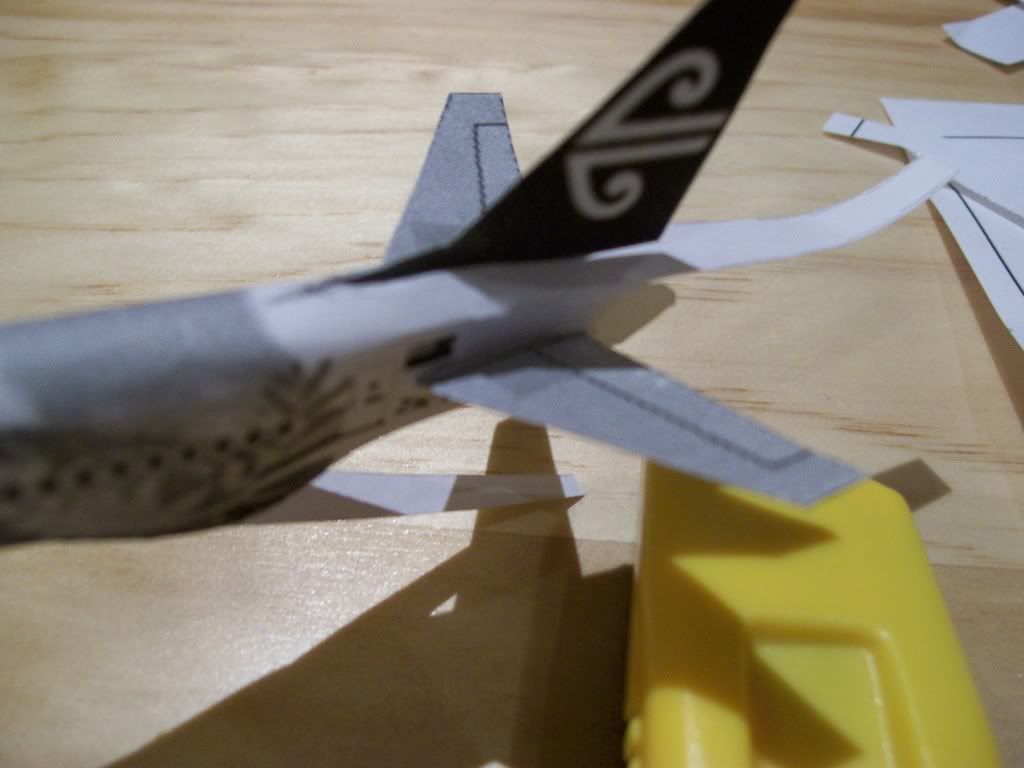
Push in as shown and tape to keep the pieces there
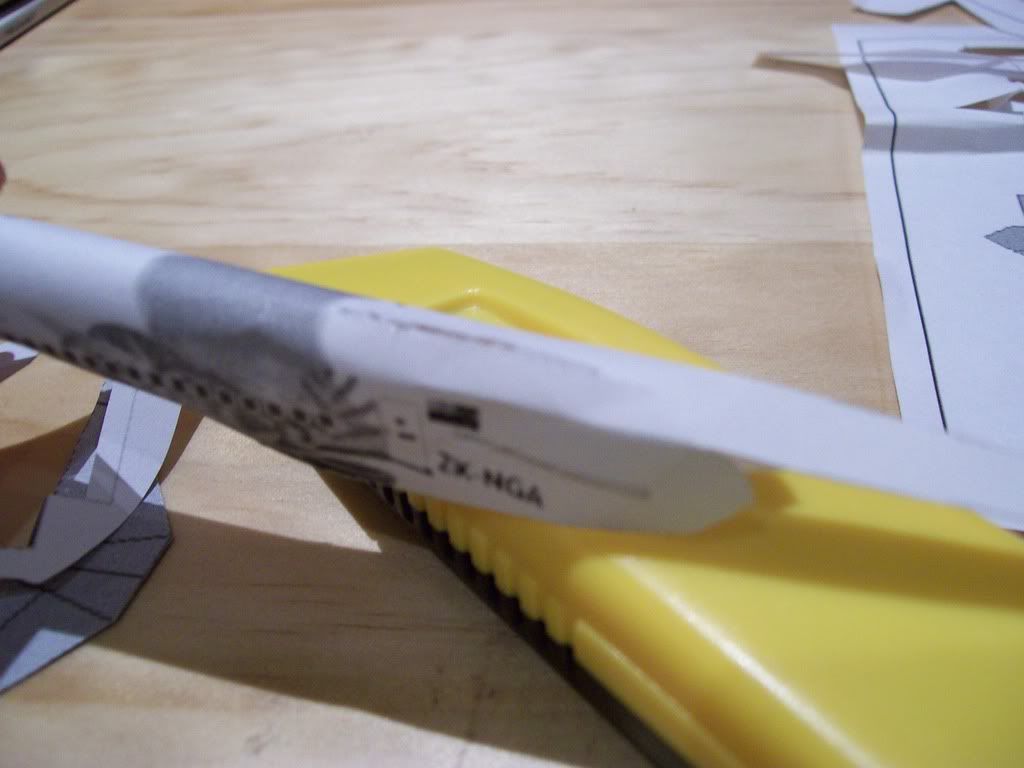
Cut slits on the left hand and right hand sides in the middle of the fuselage
where the gray lines are

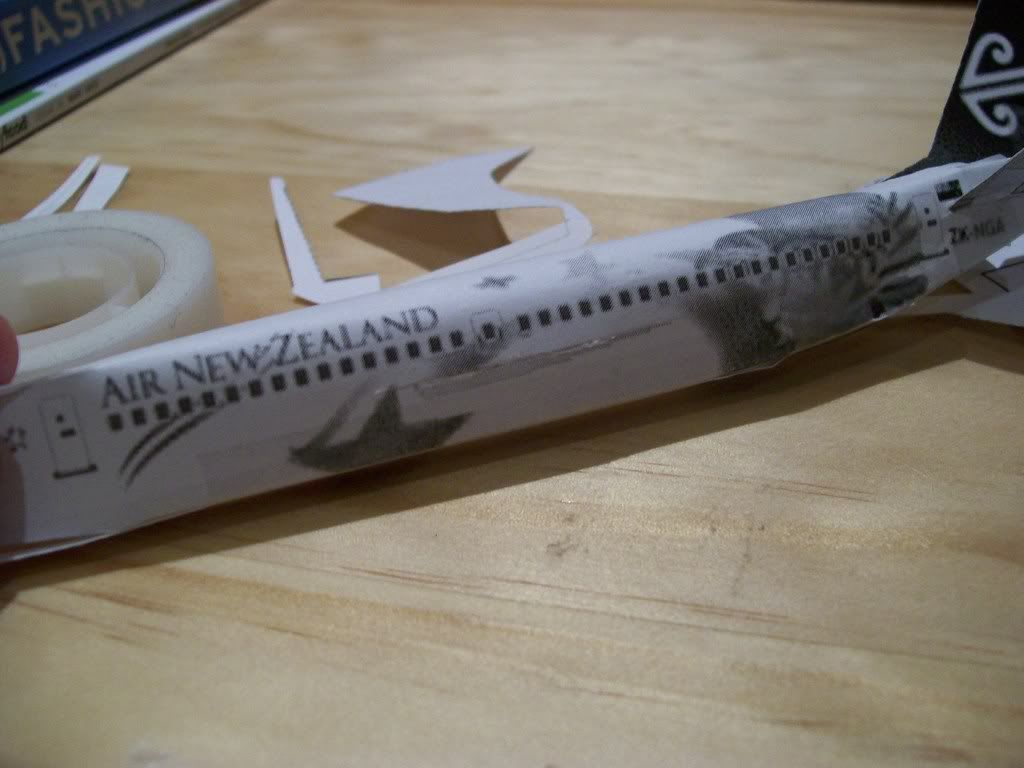
Push the wing in as shown (after you've glued it like the elevator) and tape in place.
Cut out the engine inside, fold in half and then tape. Ten glue the flaps at the front onto the round part of the engine (the intake) then curl it around till you get the cylinder to the size of the engine intake then tape to hold in place.
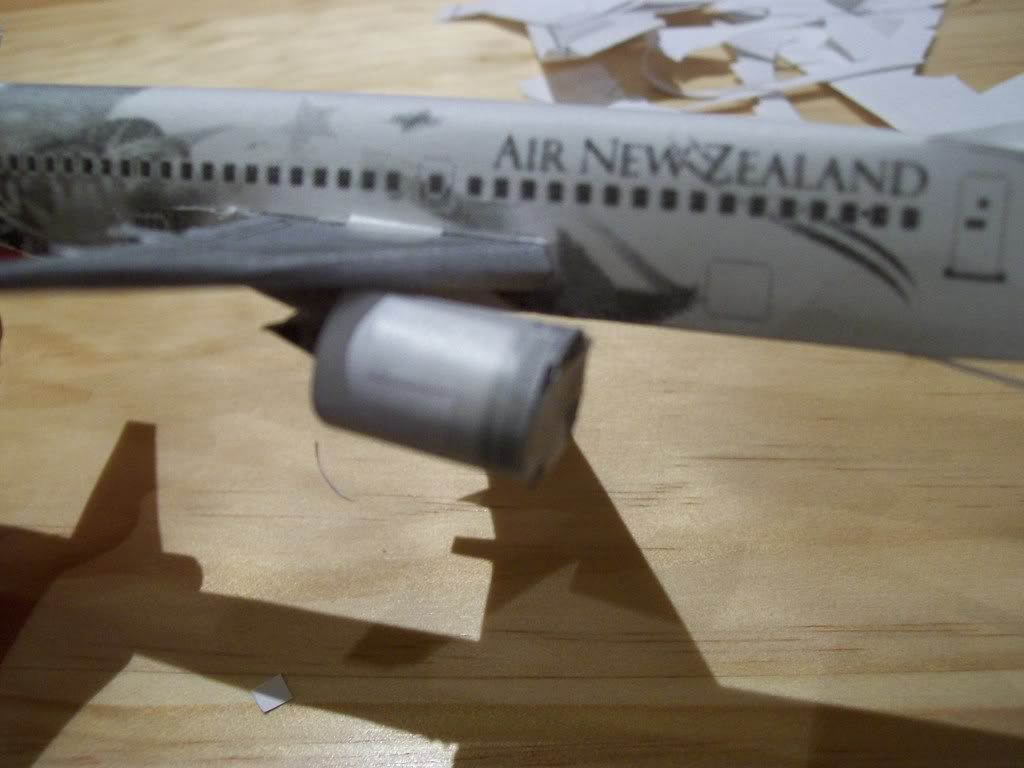
At the back roll tape onto the flaps/ glue and put under wing.
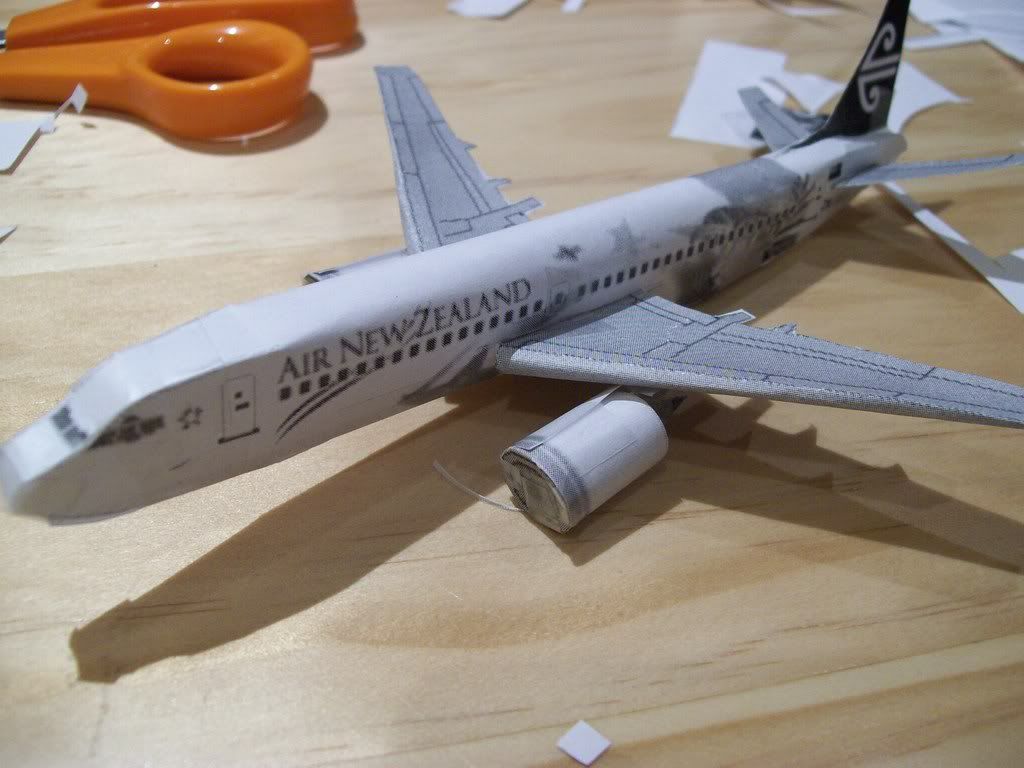
Once you've taped up the front and the back you've finished.
Please tell me if this isn't clear enough in anypart and I'll go into more detail.