Page 1 of 1

PostPosted: Tue Jun 28, 2011 2:18 pm
by b1m2d3
Hey guys/gals,

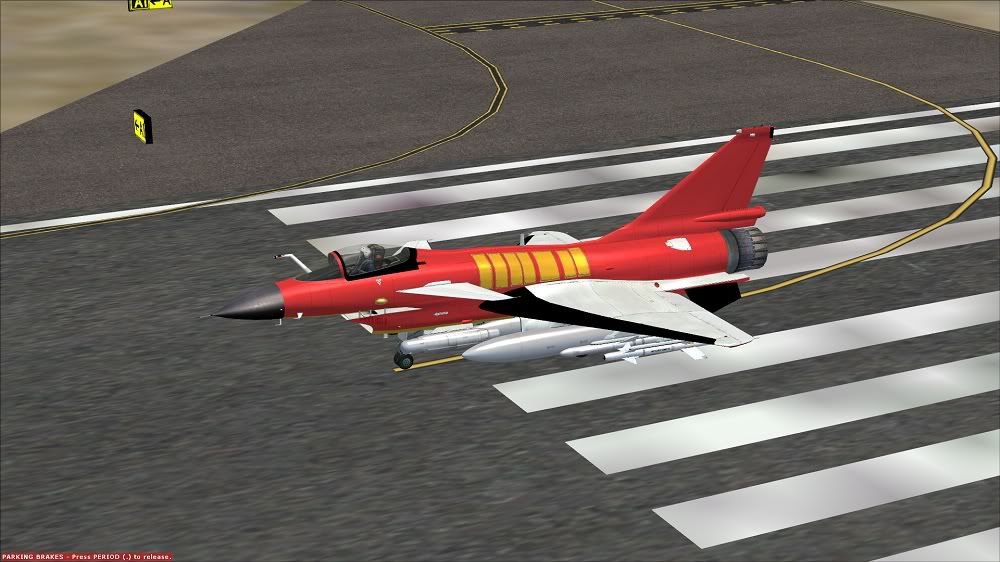
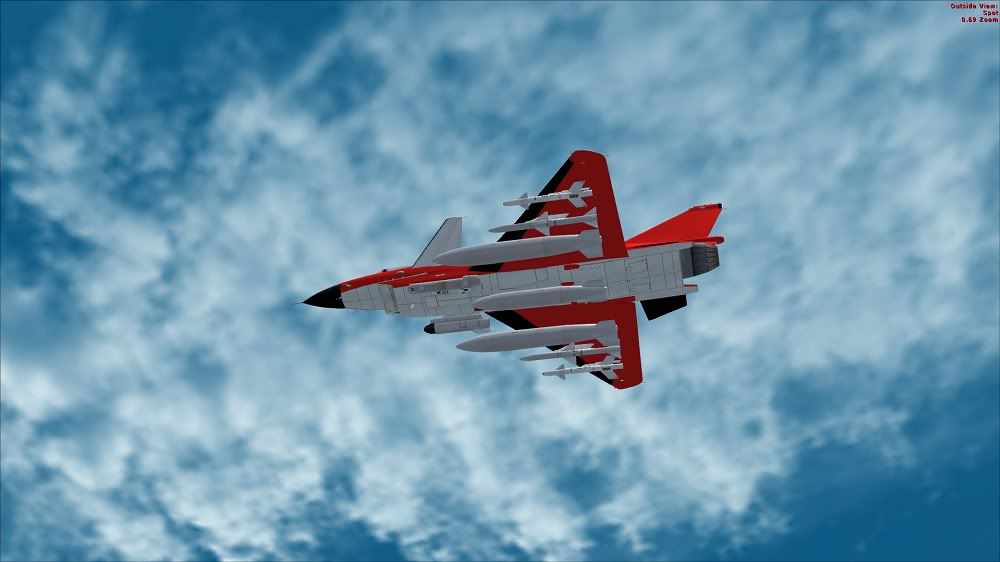
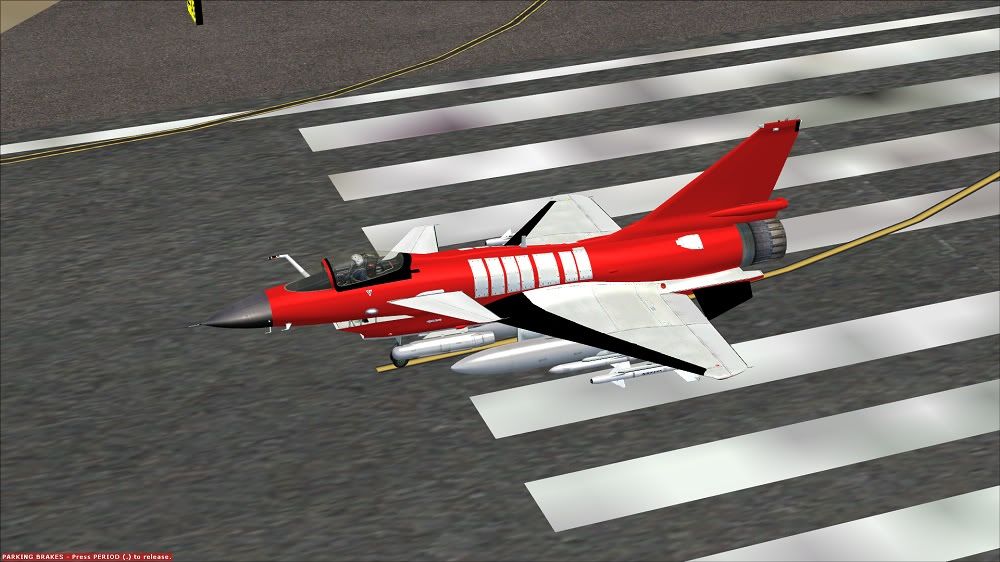
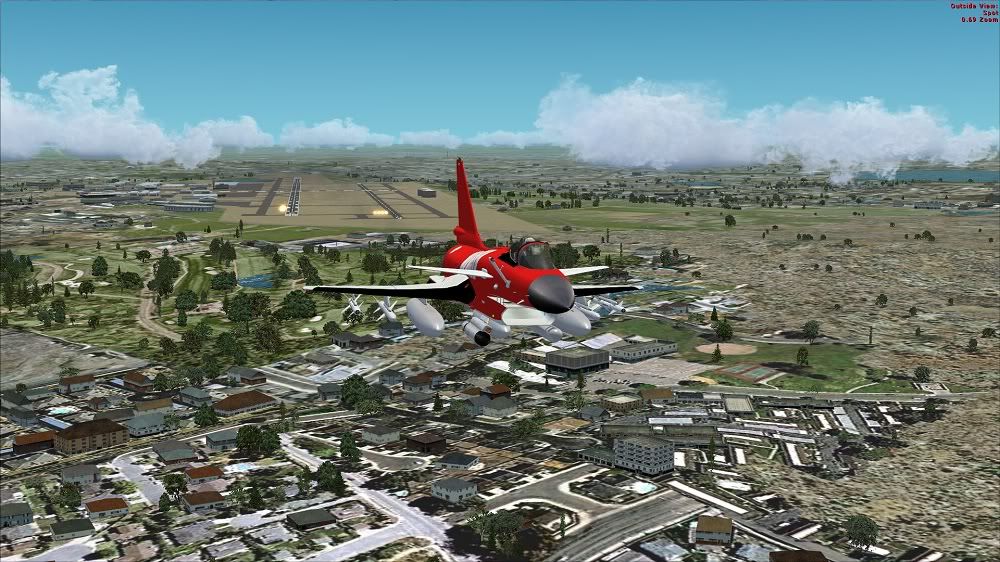
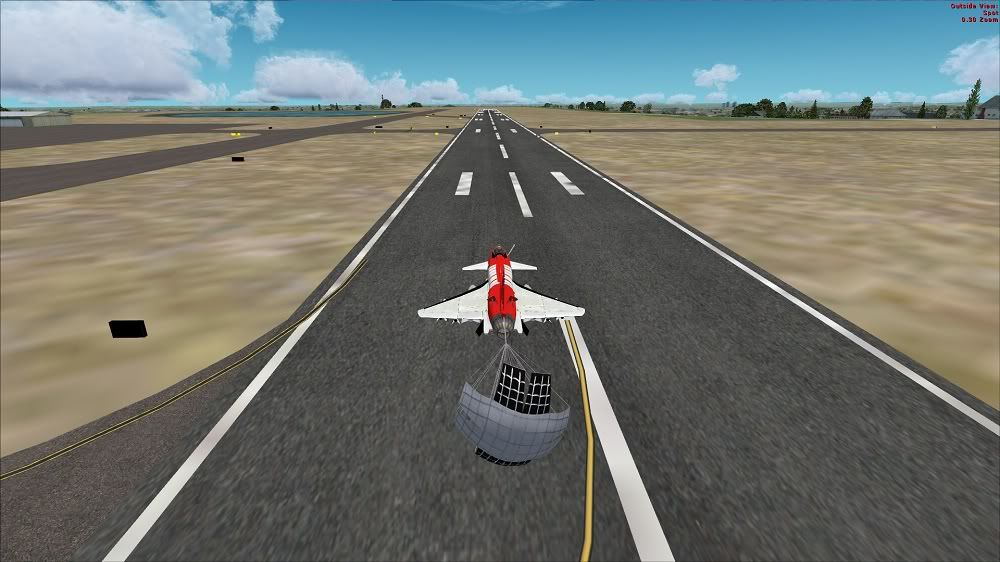
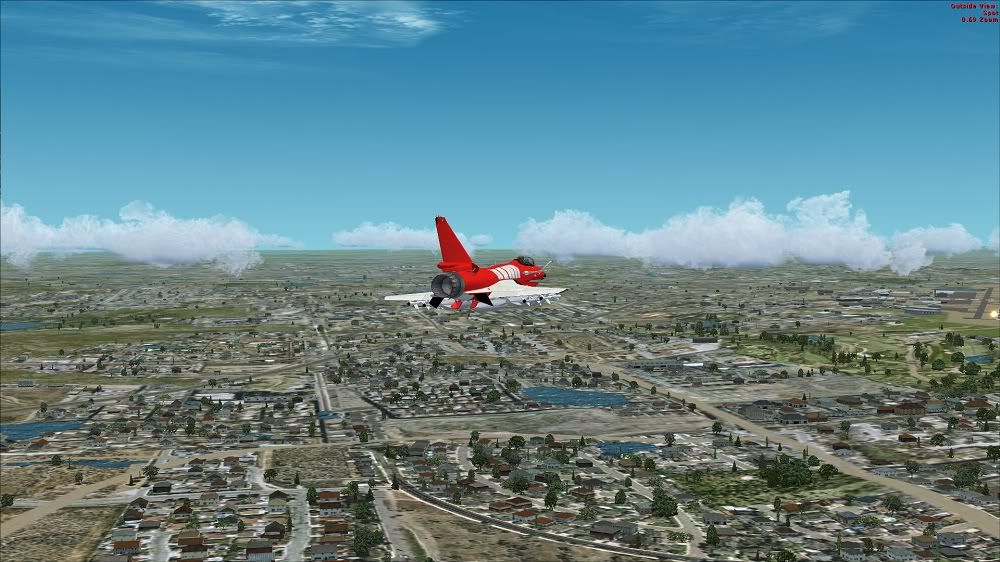
I'm doing my first ever repaint. Been putting it off for quite a while and finally decided to take the plunge and learn how to do it. I've decided to start with the J10 by Bear Studios. In the following pictures you'll see what I have so far (remember, be easy I'm new at this...hahaha).

Question is, when painting do I have to go around all the rivets, lines on the metal etc, or is there a trick I'm missing? If you notice where I have the red on the aircraft, you can't see any of the rivets, side paneling etc (minus what hasn't been painted yet) as you can in the original liveries.

I'm using GIMP and DXTbmp.

Cheers,

Brandon


PostPosted: Tue Jun 28, 2011 3:26 pm
by deeknow
Hey Brandon. Usually aircraft vendors will supply a paint kit with details like rivets, shadows, dirt, etc all on seperate layers. You place your paint detail on one (or more) other layers and leave the rivets etc sitting on their own above your custom detail. Have you got a paint kit for this machine?

PostPosted: Tue Jun 28, 2011 4:01 pm
by J7G
Yep BS have released a paint kit for it. Actually that reminds me, I need to download the update now my net is full speed again.

Hey Brandon, want to make an August 1 repaint for the masses when you've got it mastered? biggrin.gif

PostPosted: Tue Jun 28, 2011 7:09 pm
by b1m2d3
Yea I dl'd the paint kit. Unfortunately the kit all comes on one layer, ie forefuselage, aftfuselage, wings etc. It doesn't break down the finer details. I mean fore and aft etc is separate, but the details are not.

I ended up going over and drawing the rivets in (which looks like cr@p lol) after painting the side panels. Its been years since I've used this stuff. Used to be pretty handy with photoshop, but am having to re-learn layering, alpha channels etc. Fun stuff.. but man o man, talk about time consuming..lol.

I did go back and turn down the transparency on the red portion of the plane, but its not as dark as I'd like. Any darker and it covers up all the lines underneath.

August 1st might be too soon, but if I keep at it like I have this evening, ya never know. biggrin.gif

Rivets are going by by .. but now you can see the lines beneath the red at about 85% opacity.


PostPosted: Tue Jun 28, 2011 7:27 pm
by deeknow
I hear you pain re the rivets, if its not too late make sure you put them on their own layer, that way you can share the photoshop file with others and save them the hassel.

PostPosted: Wed Jun 29, 2011 11:15 am
by b1m2d3
deeknow wrote:
QUOTE (deeknow @ Jun 28 2011,7:27 PM) <{POST_SNAPBACK}>
I hear you pain re the rivets, if its not too late make sure you put them on their own layer, that way you can share the photoshop file with others and save them the hassel.


Hey deeknow, so another question. As an example I have one of the paint files called J10_FuseFore_t.psd. When I open that file in GIMP its an image that has both sides of the forward fuselage, the left and right side panels and other misc pieces that comprise the front of the aircraft. I've simply just been painting off of the image, but creating a layer for each piece (therefore I'm not directly painting on the image itself). Am I supposed to cut out each piece from the main image and place that piece(s) on its own layer and then create subsequent layers as I paint each piece/part?

Thanks m8, smile.gif

PostPosted: Wed Jun 29, 2011 12:32 pm
by deeknow
b1m2d3 wrote:
QUOTE (b1m2d3 @ Jun 29 2011,11:15 AM) <{POST_SNAPBACK}>
Am I supposed to cut out each piece from the main image and place that piece(s) on its own layer and then create subsequent layers as I paint each piece/part?

No usually you'd be leaving their layers as they are, and adding your own layers over the top, and sometimes underneath (e.g. you would be under the rivets and dirt and smoke layers). There are some tricks with using the layer "multiply" effect, cant quite remember what is called now. Feel free to email the PSD to me and I'll take a look, but sounds like J7G has seen this paintkit before and is probably better able to help out

PostPosted: Wed Jun 29, 2011 1:04 pm
by J7G
Sorry I have absolutely no idea on the painting of such things, I was just confirming that there is indeed a paint kit smile.gif

PostPosted: Wed Jun 29, 2011 4:13 pm
by b1m2d3
deeknow wrote:
QUOTE (deeknow @ Jun 29 2011,1:32 PM) <{POST_SNAPBACK}>
No usually you'd be leaving their layers as they are, and adding your own layers over the top, and sometimes underneath (e.g. you would be under the rivets and dirt and smoke layers). There are some tricks with using the layer "multiply" effect, cant quite remember what is called now. Feel free to email the PSD to me and I'll take a look, but sounds like J7G has seen this paintkit before and is probably better able to help out


Hey Deeknow, yea I figured it out. Took me some time to remember how it all works using layers as I spent most of the day on the repaint. Things actually went much smoother today than yesterday.

Do you have an email I can send an attachment to? Tried emailing here, but there is no option for attachments.

Cheers,

Brandon